Snowflake Cortex Agents
Give Snowflake Cortex Agents access to your enterprise data context in DataHub — business definitions, ownership, lineage, and quality signals — so they can generate better SQL and answer data questions accurately.
Snowflake connects to the DataHub MCP Server as an External MCP Server, using OAuth2 with Dynamic Client Registration (DCR). Each user signs in with their own DataHub credentials (including SSO), and tokens are scoped per-user and refreshed automatically.
Snowflake Intelligence was renamed Snowflake CoWork in June 2026. The Cortex Agent and MCP connector objects are unchanged — only the end-user interface was rebranded.
Prerequisites
- DataHub Cloud v1.0.2+ (required for OAuth2 + DCR on the MCP endpoint)
- A Snowflake account with Cortex Agents / Snowflake CoWork enabled
- A Snowflake user with the
ACCOUNTADMINrole for the initial setup.CREATE API INTEGRATIONrequires it; the MCP server object needsCREATE EXTERNAL MCP SERVERon the target schema, which by default only account admins hold. - A database and schema to hold the external MCP server object
Setup
1. Create the API integration
Run as ACCOUNTADMIN:
CREATE API INTEGRATION datahub_mcp_api_integration
  API_PROVIDER = external_mcp
  API_ALLOWED_PREFIXES = ('https://mcp.datahub.com')
  API_USER_AUTHENTICATION = (
    TYPE = OAUTH_DYNAMIC_CLIENT,
    OAUTH_RESOURCE_URL = 'https://mcp.datahub.com'
  )
  ENABLED = TRUE;
OAUTH_RESOURCE_URL is where Snowflake looks for DataHub's OAuth metadata. It must match the resource value DataHub advertises at /.well-known/oauth-protected-resource, which is the origin only — no /mcp path. The MCP server URL in the next step still uses the full endpoint.
To point at your tenant instead of the global endpoint, use https://<tenant>.acryl.io for both API_ALLOWED_PREFIXES and OAUTH_RESOURCE_URL, and https://<tenant>.acryl.io/mcp for the MCP server URL.
2. Create the External MCP Server
The MCP server is a schema-level object. Create it in a database and schema your agent users can reach, and note the fully qualified name — later steps need it.
CREATE EXTERNAL MCP SERVER <db>.<schema>.datahub_mcp_server
  WITH DISPLAY_NAME = 'DataHub'
  URL = 'https://mcp.datahub.com/mcp'
  API_INTEGRATION = datahub_mcp_api_integration;
3. Grant access to your agent users
Don't skip this step. By default only account admins can use the MCP server, and Snowflake hides objects a role isn't authorized for rather than raising an error — so without these grants the connector simply never appears in CoWork, with no error message anywhere.
Grant USAGE on both the MCP server and its API integration to every role that will use the agent:
GRANT USAGE ON EXTERNAL MCP SERVER <db>.<schema>.datahub_mcp_server TO ROLE <role>;
GRANT USAGE ON INTEGRATION datahub_mcp_api_integration TO ROLE <role>;
4. Add the connector to your agent
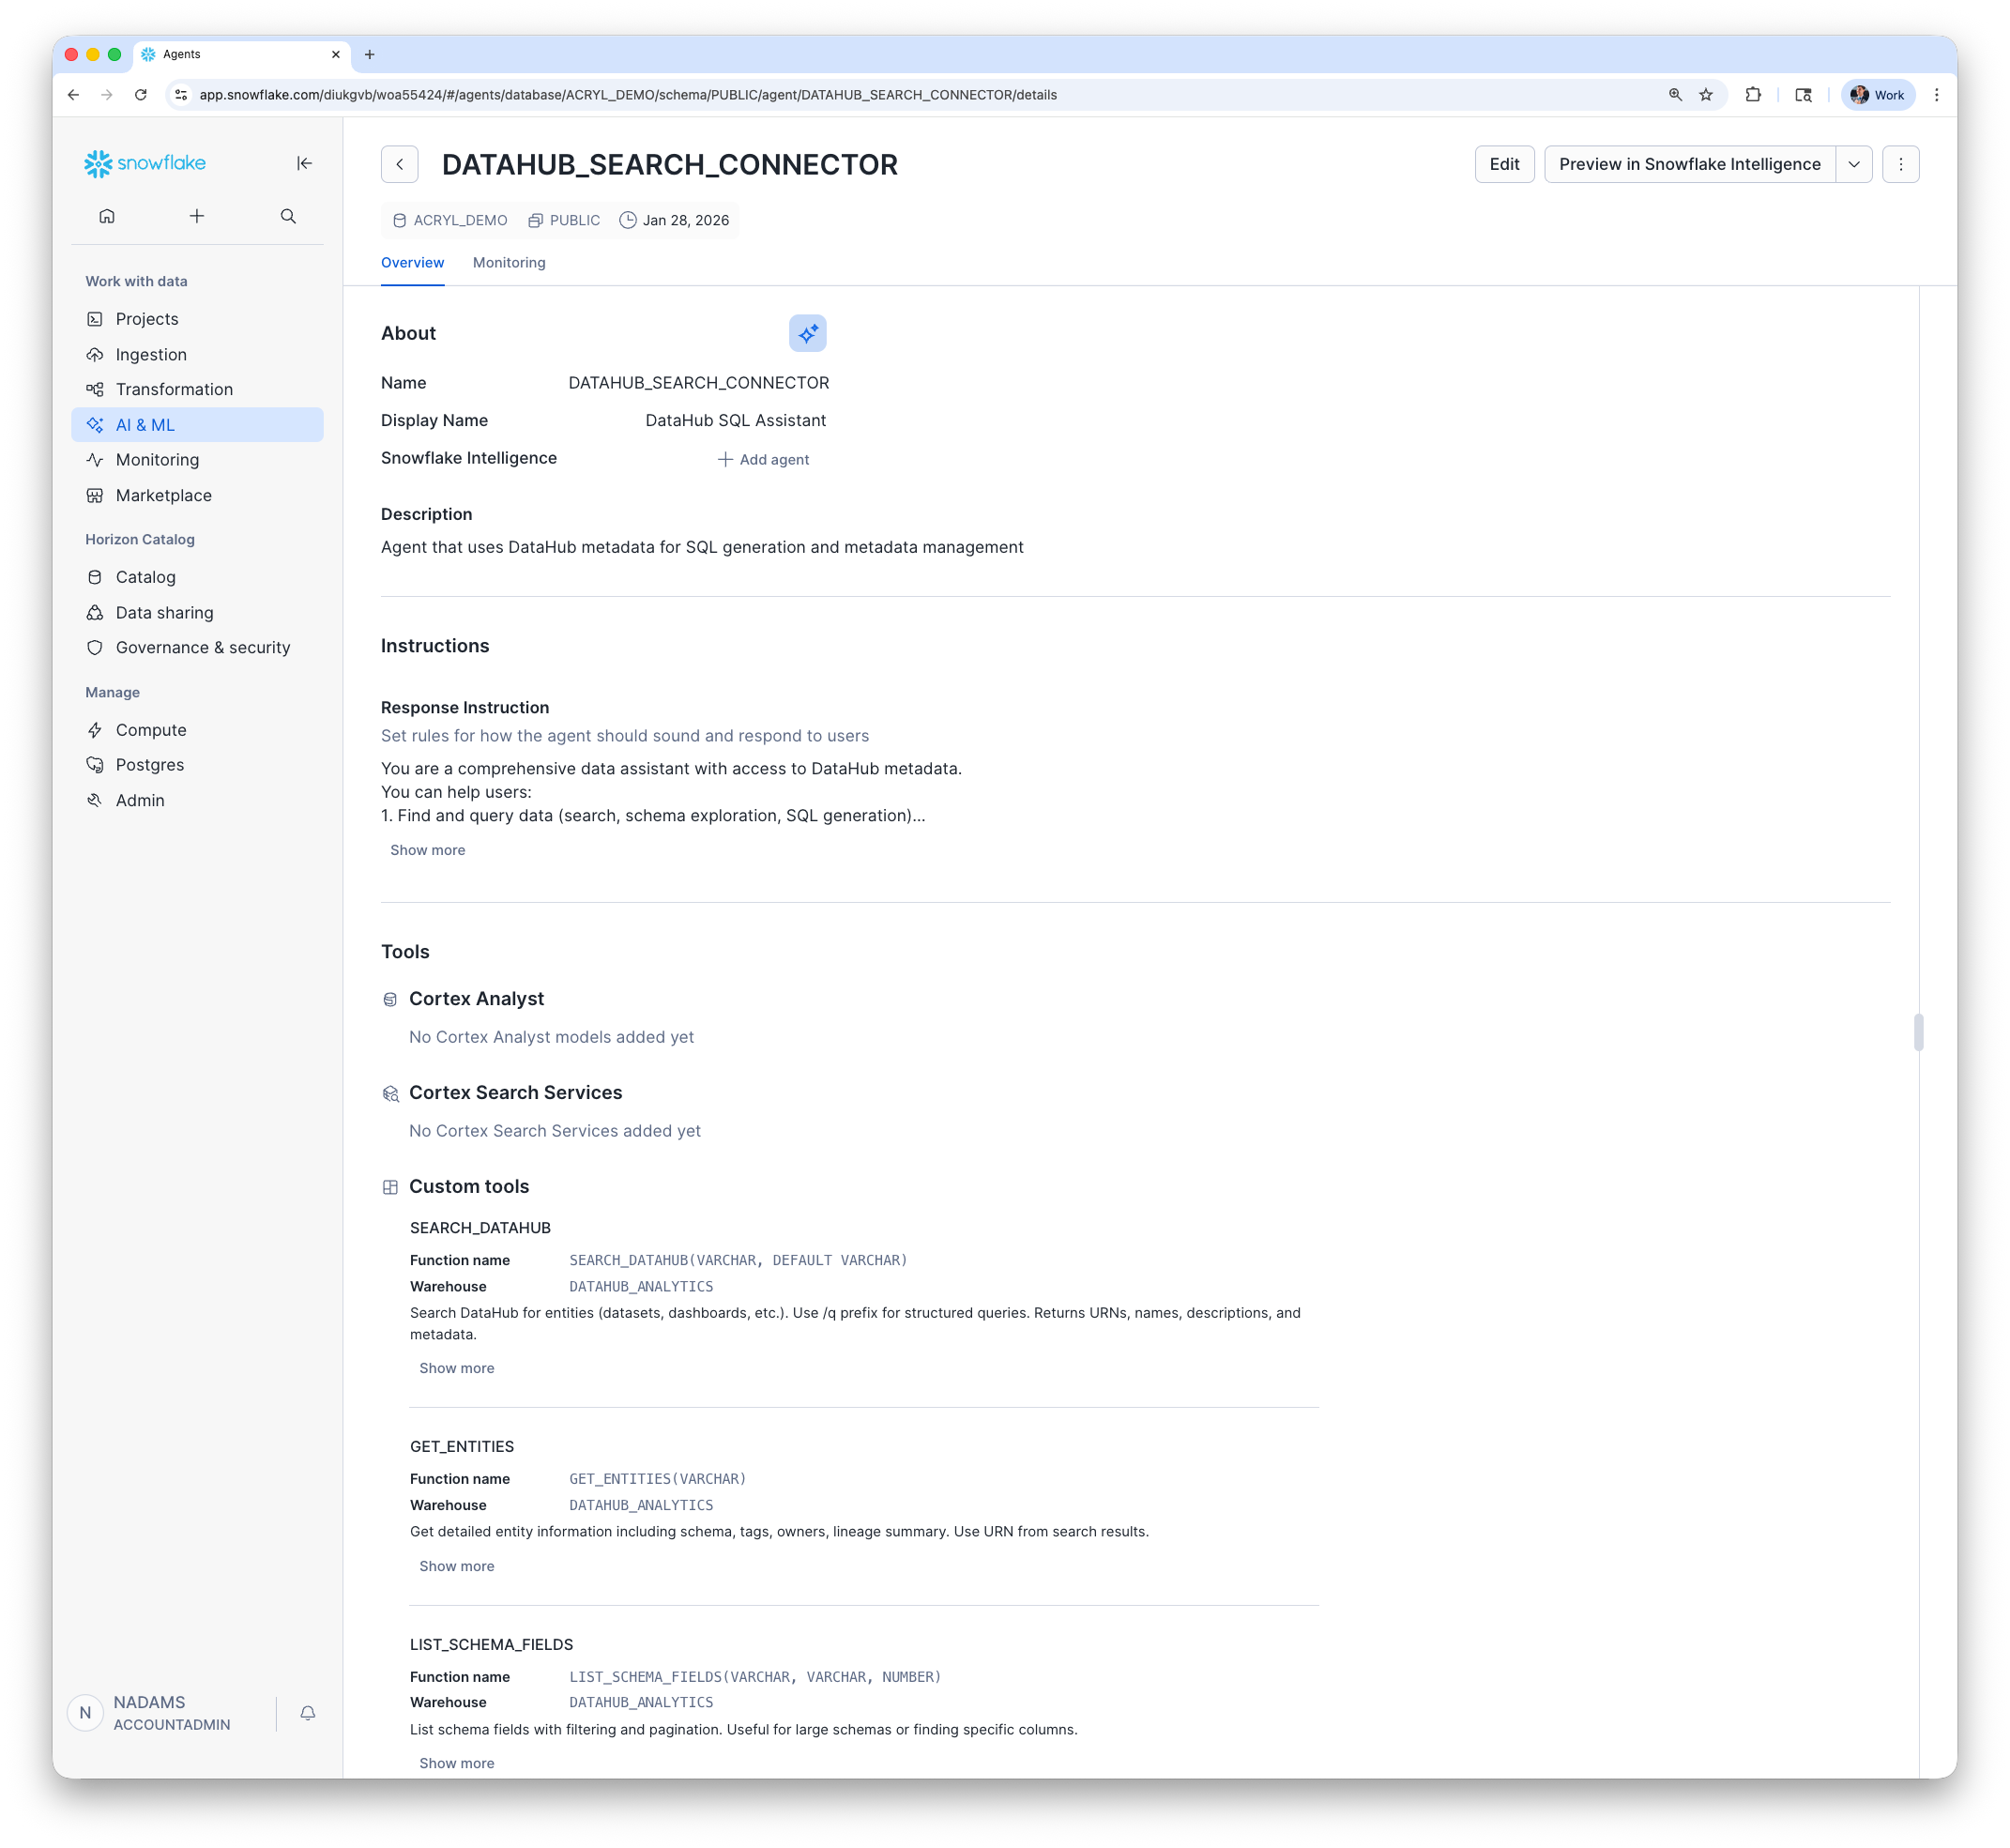
In Snowsight, navigate to AI & ML → Agents, select your agent, choose MCP Connectors, select DataHub from Available Connectors, and select Add to agent. Customize the agent's prompt, model, and tools as needed.
Or via SQL:
ALTER AGENT <agent_name> MODIFY LIVE VERSION SET SPECIFICATION $$
    <previous_spec>
    mcp_servers:
      - server_spec:
         name: "<db>.<schema>.datahub_mcp_server"
$$;
5. Connect and sign in
Open Snowflake CoWork and select your agent. Open the sources panel, select Connectors, then select Connect next to DataHub. Snowflake walks each user through the DataHub OAuth flow once, then reuses the credential on subsequent calls.
The connector shows as Connected when it's ready. Connectors that aren't in the connected state are excluded from the agent's orchestration.
Troubleshooting
Permission denied creating the objects?
CREATE API INTEGRATIONrequiresACCOUNTADMIN;CREATE EXTERNAL MCP SERVERrequires the matching privilege on the target schema.DataHub doesn't appear in the CoWork connectors list? This is almost always the missing
GRANT USAGEfrom step 3 — Snowflake hides unauthorized objects instead of returning an error. Sign in as the role your agent users actually use and confirm the object is visible:SHOW EXTERNAL MCP SERVERS IN ACCOUNT;Connector listed, but the OAuth flow never starts? Check that Snowflake can resolve DataHub's OAuth metadata:
SELECT SYSTEM$START_USER_OAUTH_FLOW('datahub_mcp_api_integration');This returns an authorization URL. If it errors instead,
OAUTH_RESOURCE_URLis wrong — see step 1.Does DataHub need to allowlist Snowflake's callback URL? No. DataHub's OAuth server supports Dynamic Client Registration, so Snowflake registers itself and supplies
https://identity.snowflake.com/oauth2/callbackautomatically. There is no redirect URI allowlist to configure on the DataHub side.OAuth flow fails? Confirm your DataHub Cloud instance is on v1.0.2+.
Agent not using DataHub tools? Update the agent system prompt to explicitly mention DataHub tools (search, lineage, schema lookup, etc.).
Empty results? The signed-in user's DataHub permissions apply — check that they can see the entities in the DataHub UI.
Links: Cortex Agents Docs · Agent Context Kit · MCP Server Guide
UDF-Based Setup
This integration works through UDFs created by the DataHub CLI. Once set up, your Cortex Agent calls DataHub tools alongside your Snowflake tables.
Prerequisites
pip install datahub-agent-context[snowflake]- A DataHub Cloud instance URL and personal access token
- A Snowflake user with the
ACCOUNTADMINrole (for initial setup)
Setup
You can either let the CLI execute the SQL directly, or generate the SQL files and run them yourself.
Option A: Execute directly
datahub agent create snowflake \
  --sf-account YOUR_ACCOUNT \
  --sf-user YOUR_USER \
  --sf-password YOUR_PASSWORD \
  --sf-role YOUR_ROLE \
  --sf-warehouse YOUR_WAREHOUSE \
  --sf-database YOUR_DATABASE \
  --sf-schema YOUR_SCHEMA \
  --datahub-url https://your-datahub.acryl.io \
  --datahub-token YOUR_TOKEN \
  --enable-mutations \
  --execute
Use --sf-authenticator externalbrowser for SSO instead of --sf-password.
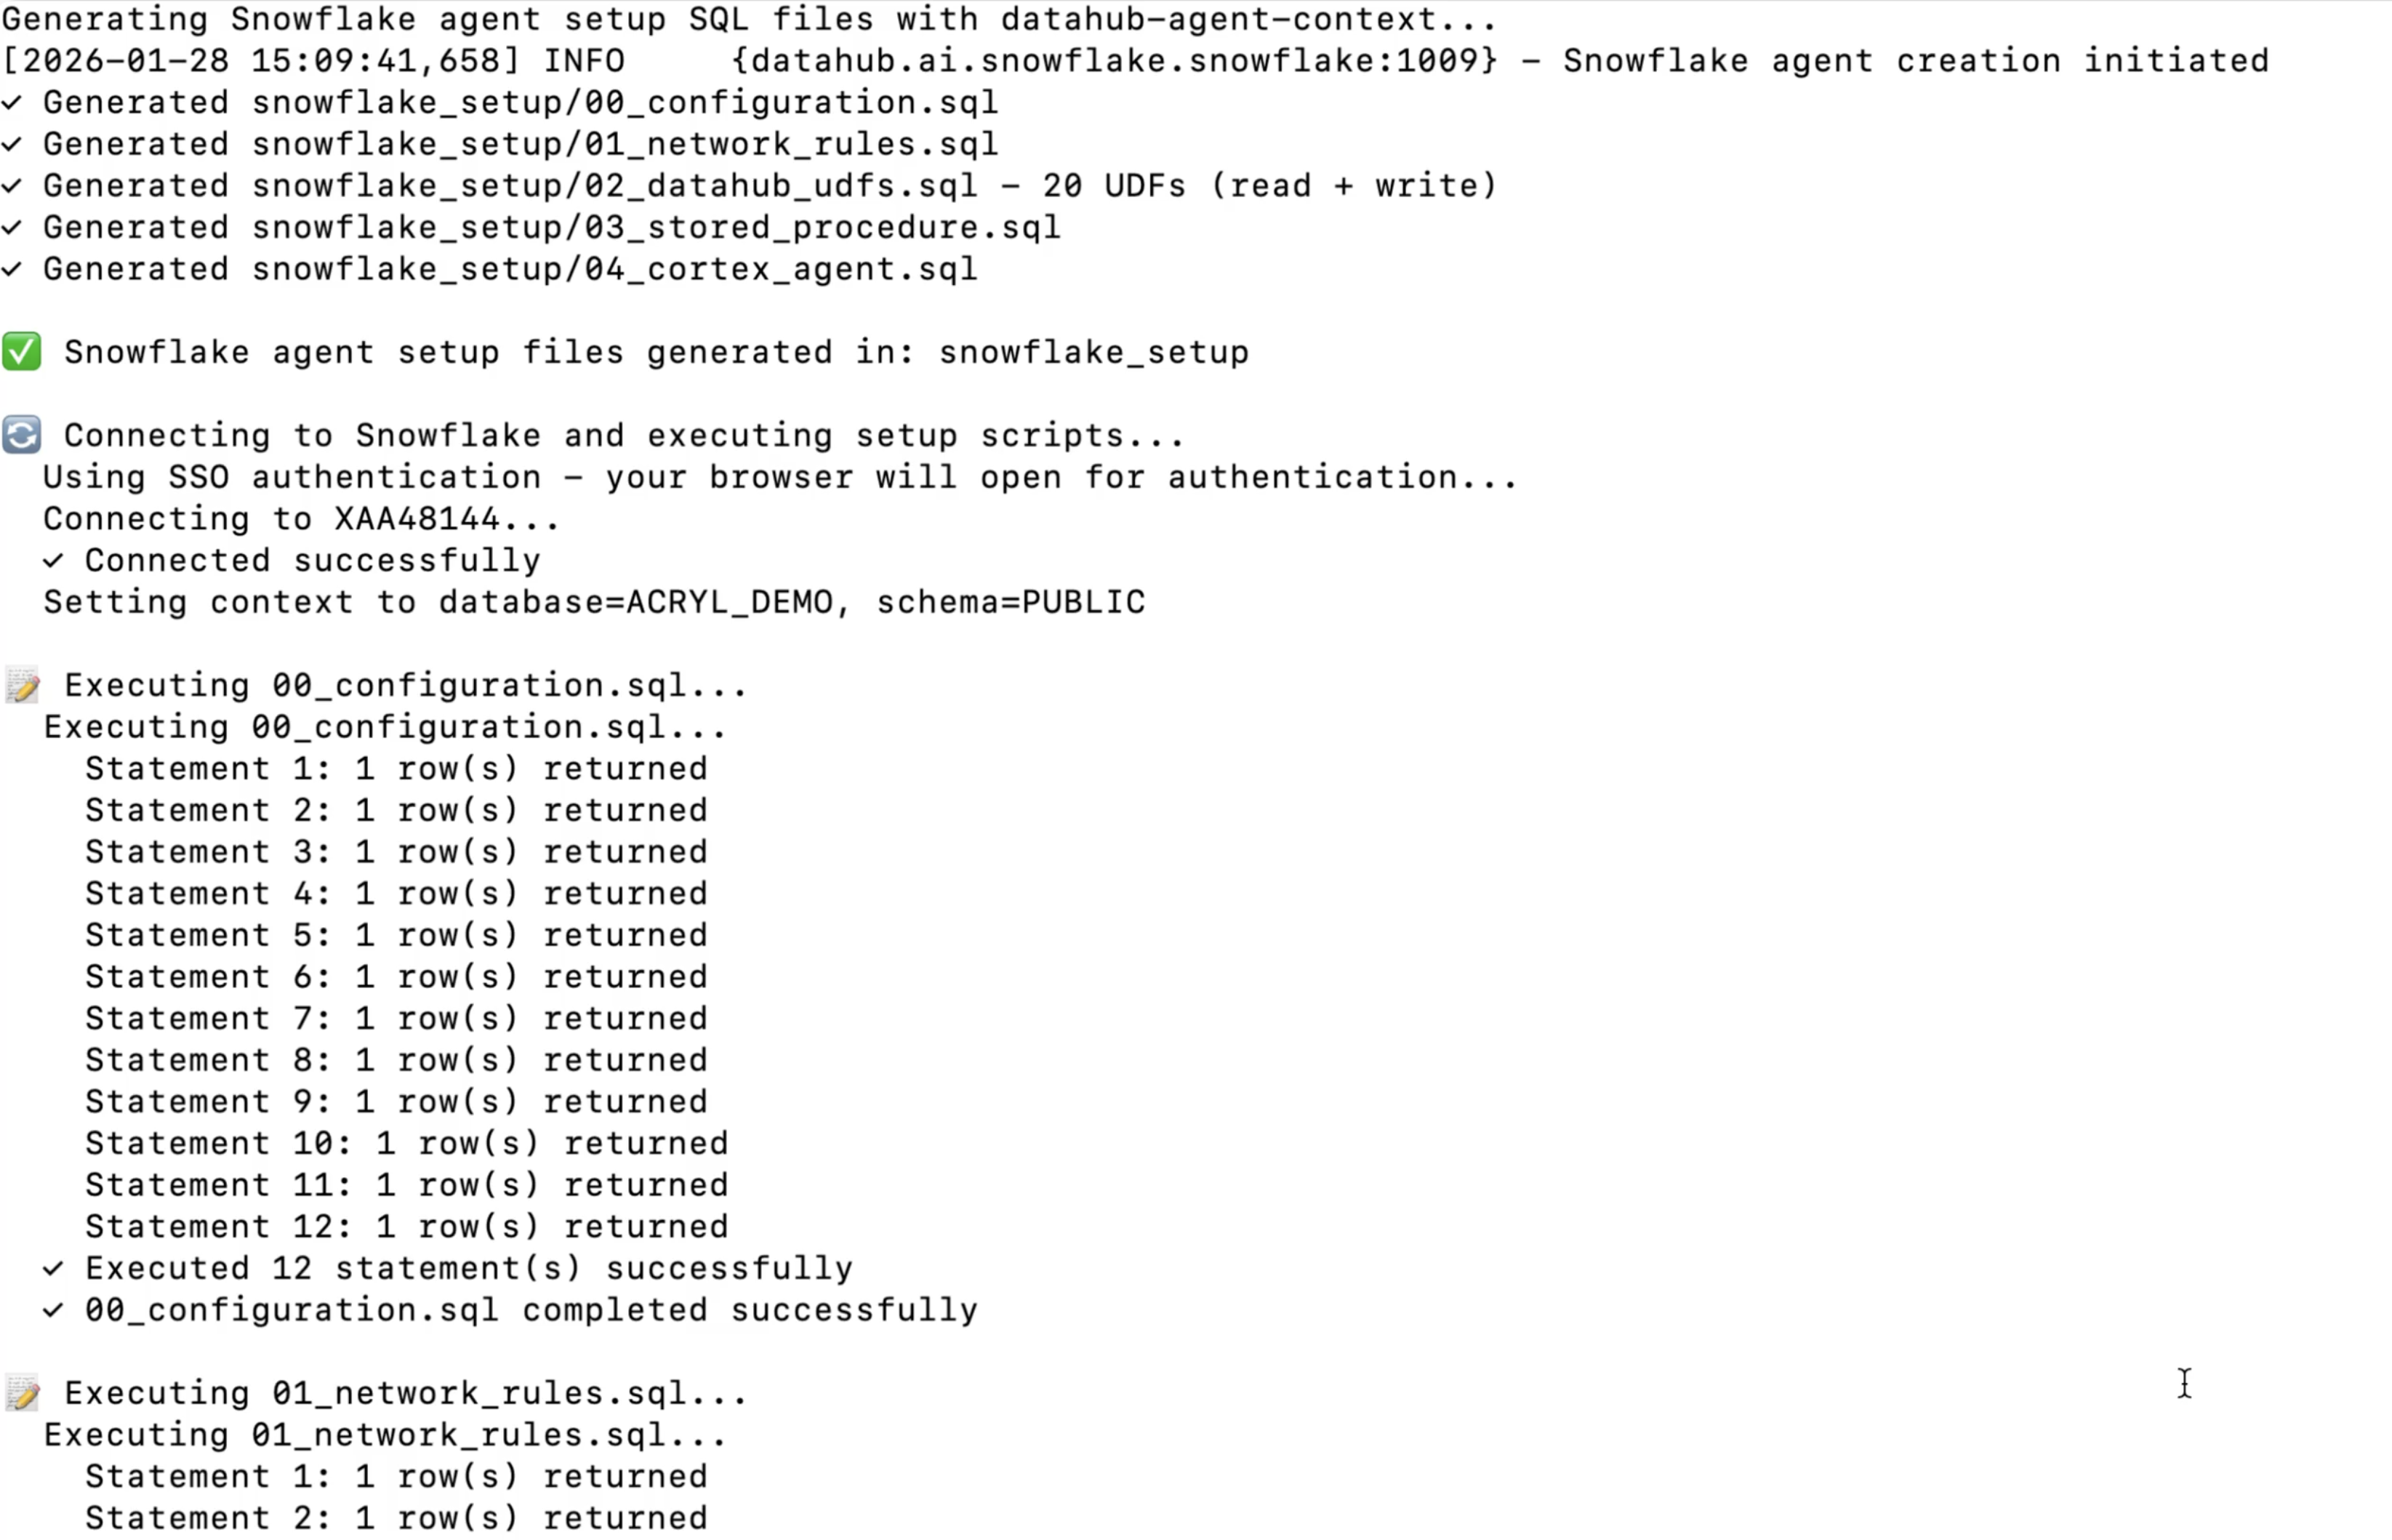
Option B: Generate SQL
Drop --execute and --sf-password to generate SQL files instead. Then run them in order in a Snowflake worksheet:
@00_configuration.sql;
@01_network_rules.sql;
@02_datahub_udfs.sql;
@03_stored_procedure.sql;
@04_cortex_agent.sql;
Configure and Use
Customize the agent's prompt, model, and tools in the Snowflake UI, then open Snowflake CoWork and select the DataHub Agent.
Updating UDFs
When new tools are released, re-run the UDF and agent SQL:
@02_datahub_udfs.sql;
@04_cortex_agent.sql;
Troubleshooting (UDF setup)
- Permission denied? Initial setup requires
ACCOUNTADMIN. After that,SNOWFLAKE_INTELLIGENCE_ADMINis sufficient. - UDFs not found? Run
SHOW USER FUNCTIONS LIKE 'datahub%';to verify. - Agent not using DataHub tools? Update the agent system prompt to explicitly mention DataHub tools.
- Connection errors? Verify the DataHub URL is reachable and the token hasn't expired (should start with
eyJ). - Empty results? Check token permissions and that entities exist in the DataHub UI.